
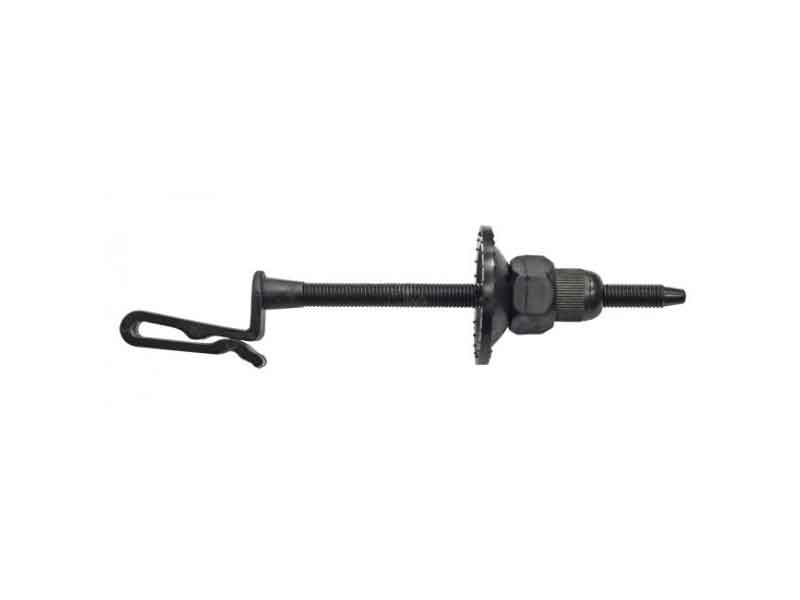
Description
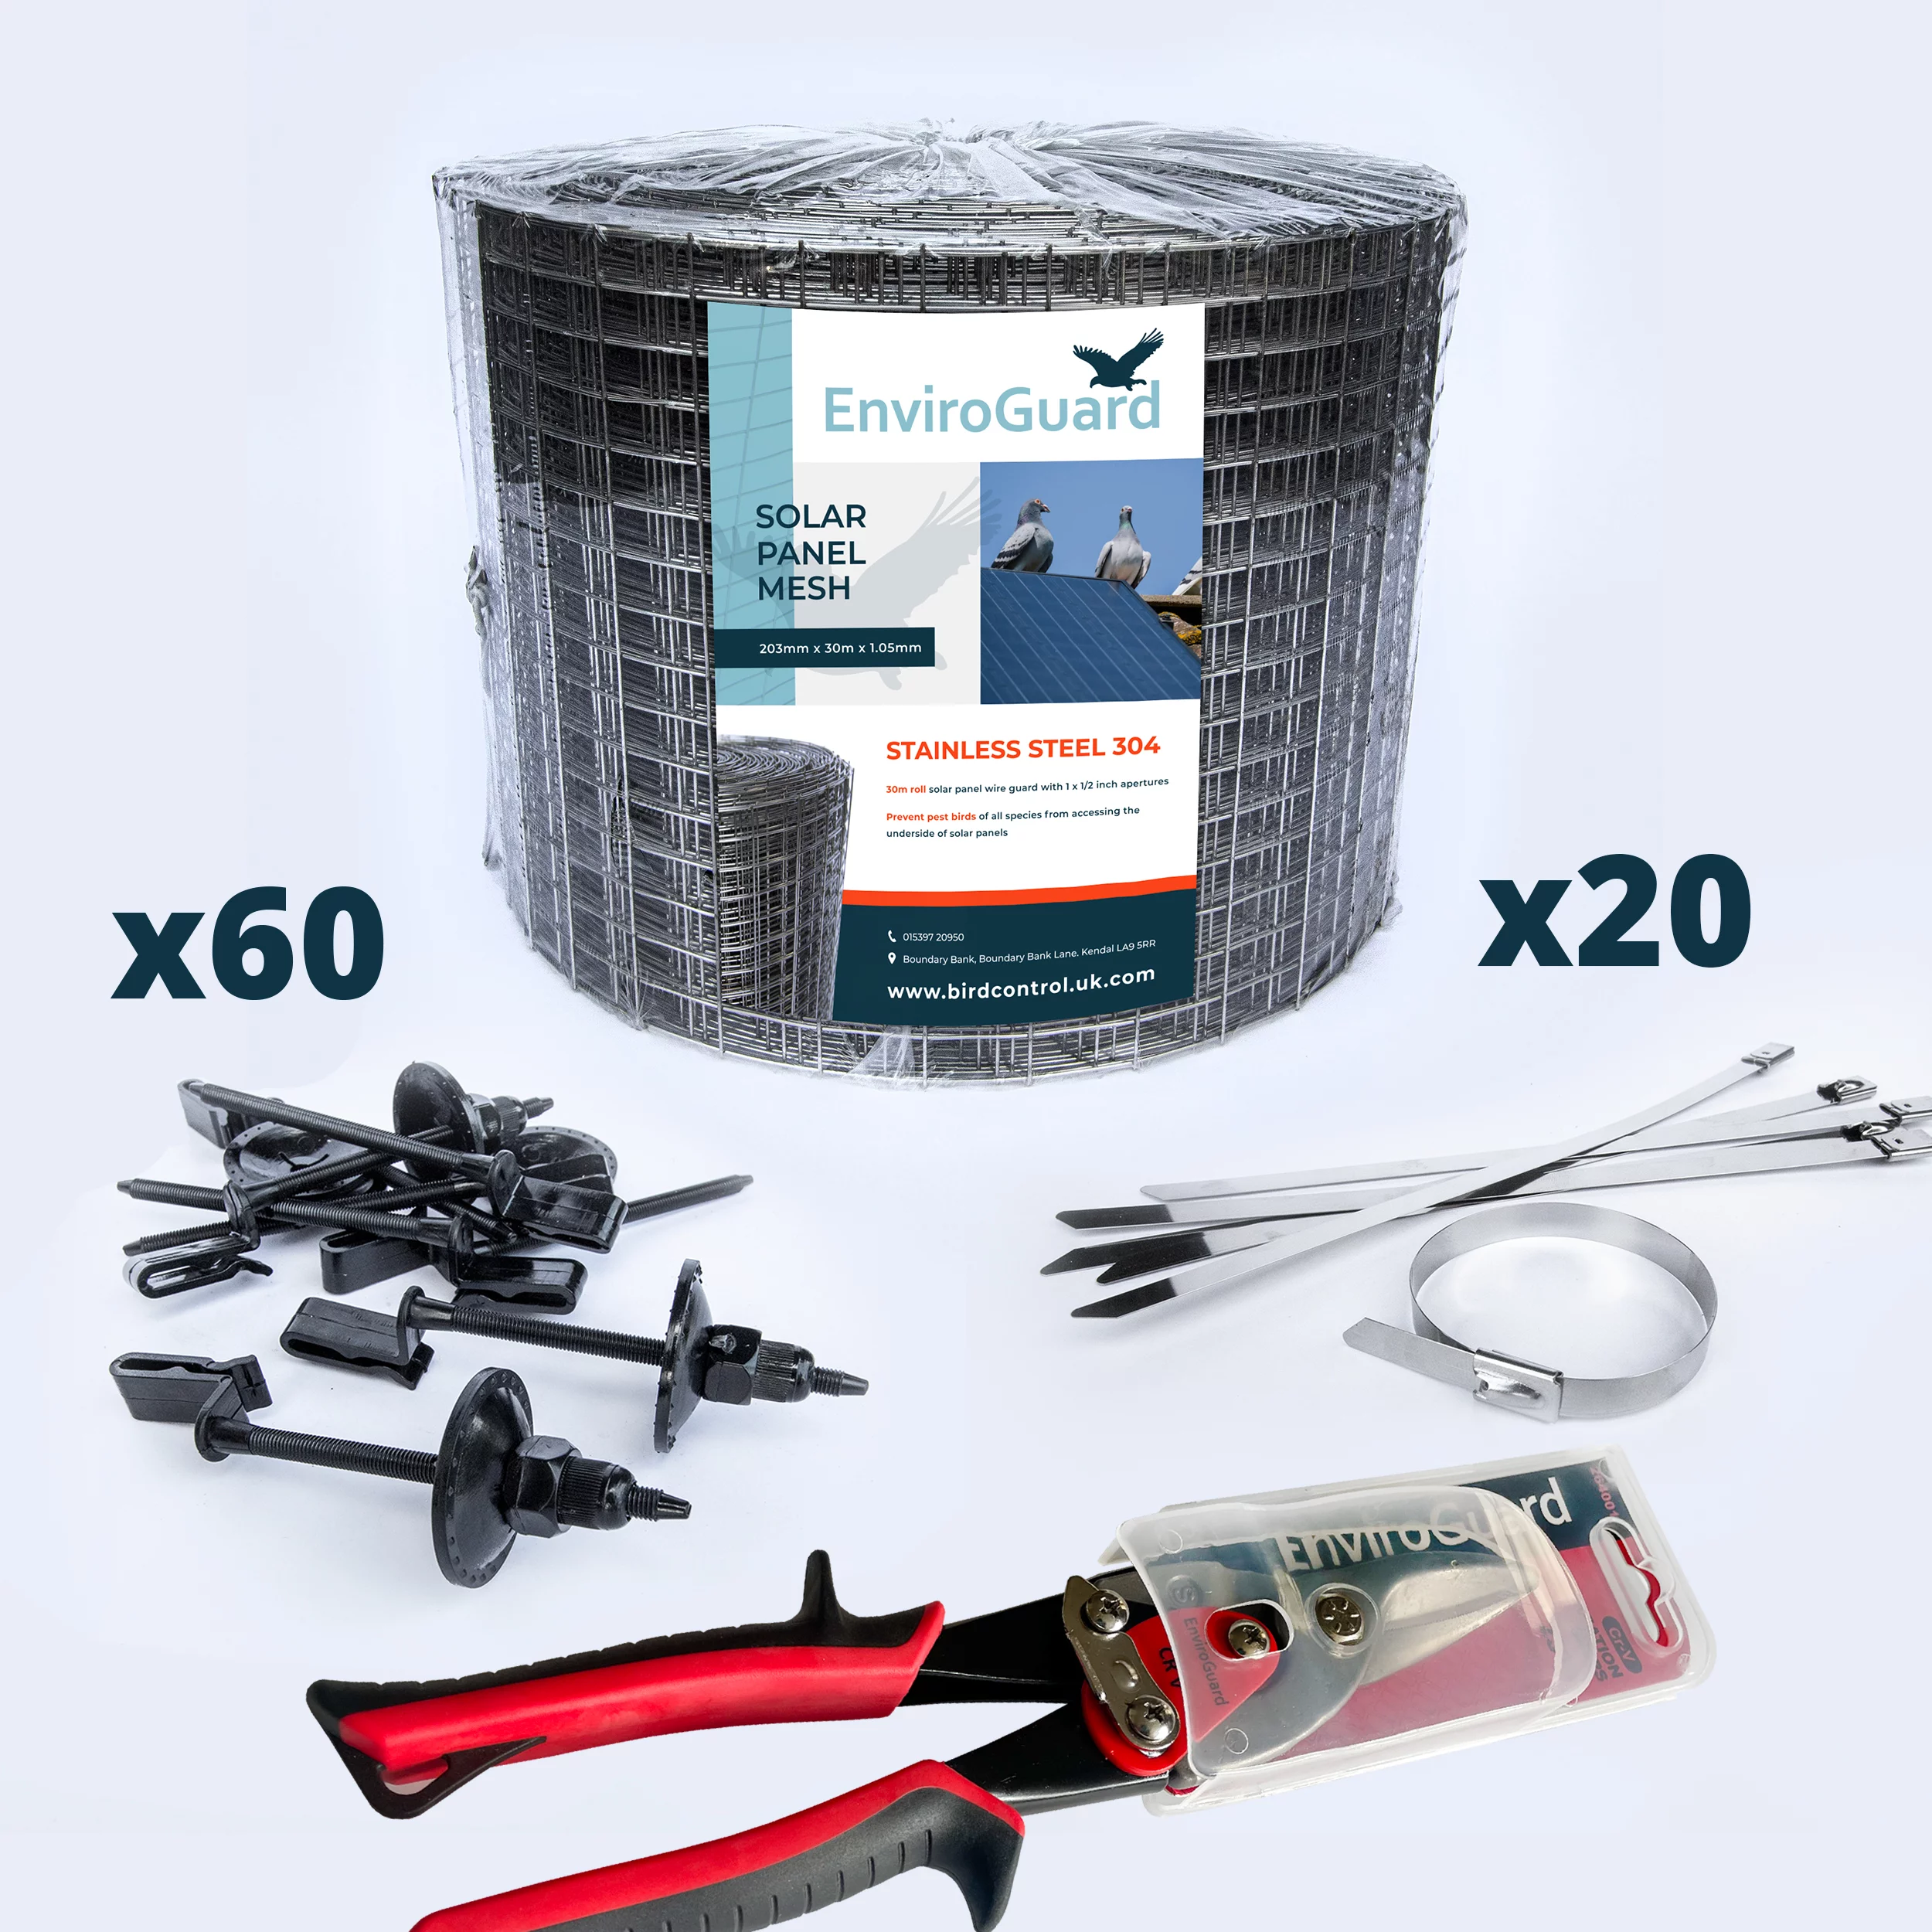
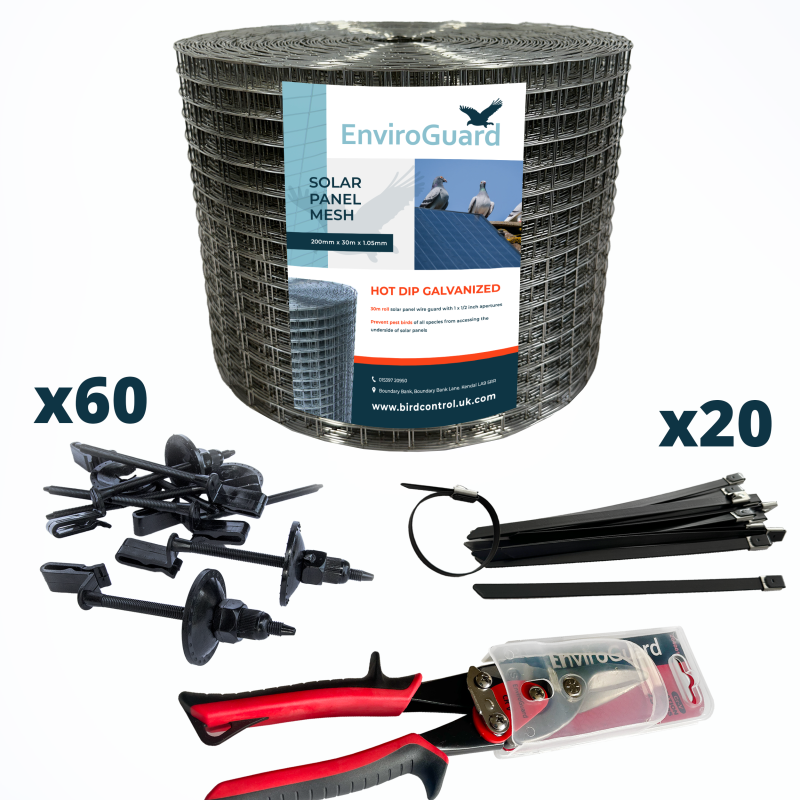
The solar panel kit contains
DISCOUNTED PRICES ON GALVANIZED SOLAR PROOFING KITS
- 30 Meter Galvanized Solar Panel Weld Mesh Roll
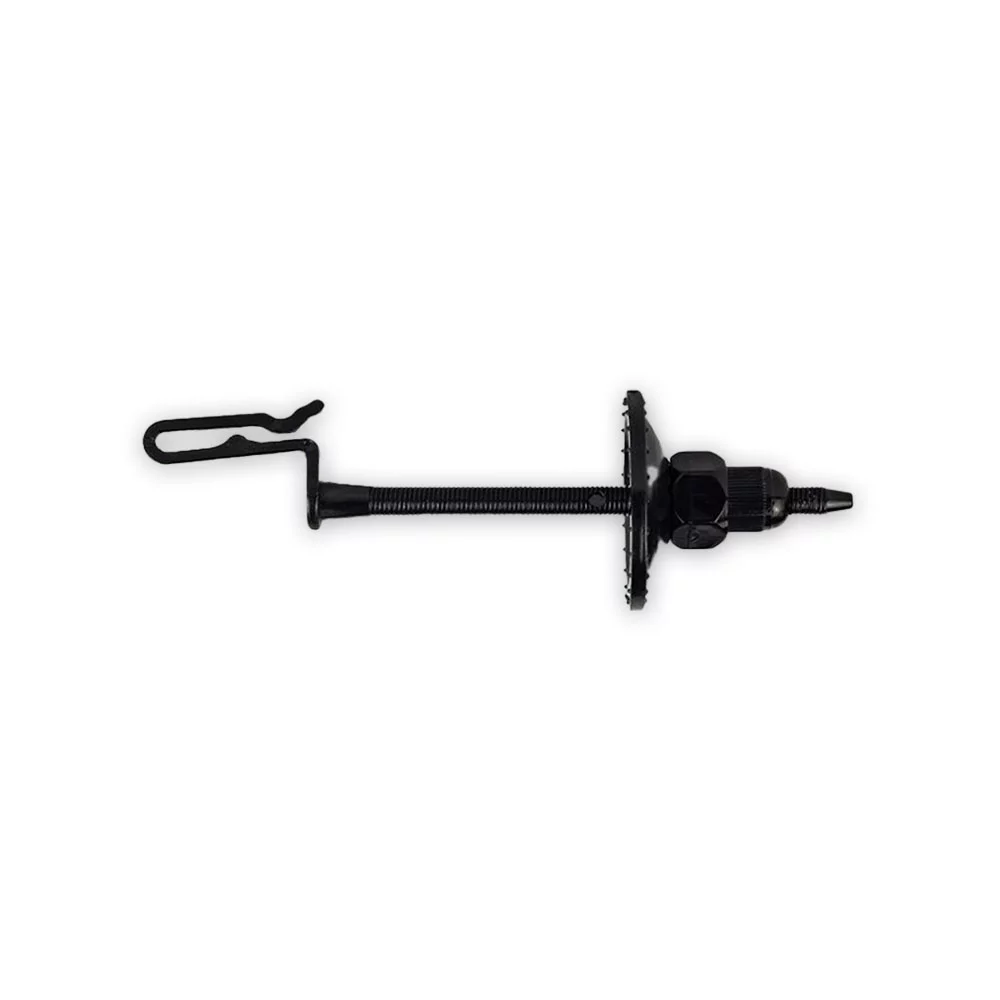
- 60 Premium Adjustable Solar Panel Mesh Clips
- 1 Pair Sheet Metal Snips
- 1 Pack Stainless Steel Corner Ties
- Installation instructions included in the box
Weldmesh is manufactured from: 19 gauge hot dipped galvanized wire.
Mesh Size: 25 mm X 12.5 mm (1″ X 1/2″) (Please note cheaper kits on the internet are sold with inch x inch mesh which is much weaker)
Roll Width: 200 mm
Roll Length: 30 m
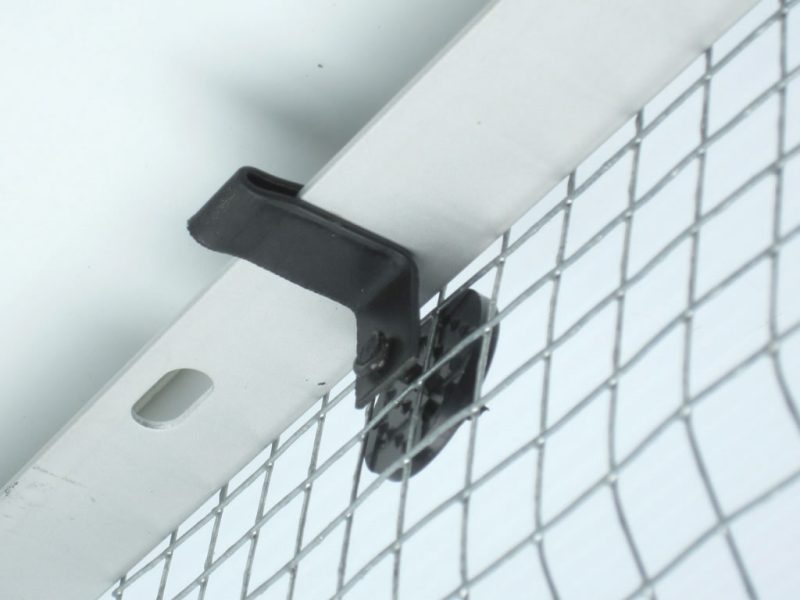
Solar Panel Clips are manufactured from U.V.-stabilized polycarbonate and have self-locking nuts that are adjusted by hand for ease on the roof
Corner ties are stainless steel for both galvanized and stainless steel kits
Where to Use: Rooftop solar panel arrays
Target Bird: Feral Pigeons
Bird Pressure: All levels
Installation: Wire mesh is bound to solar panels using patent-pending clips
Expertise Level: Easy
Usage:
Solar panels are being installed on commercial and residential roofs across the UK. These arrays provide perfect harbourage for pigeons, homeowners are desperate for a solution that does not involve piercing or damaging the solar panels with mechanical fixings, hence avoiding warranty issues.
This innovative system is designed specifically to keep pigeons from getting under solar arrays, protecting the roof, wiring, and equipment from damage.
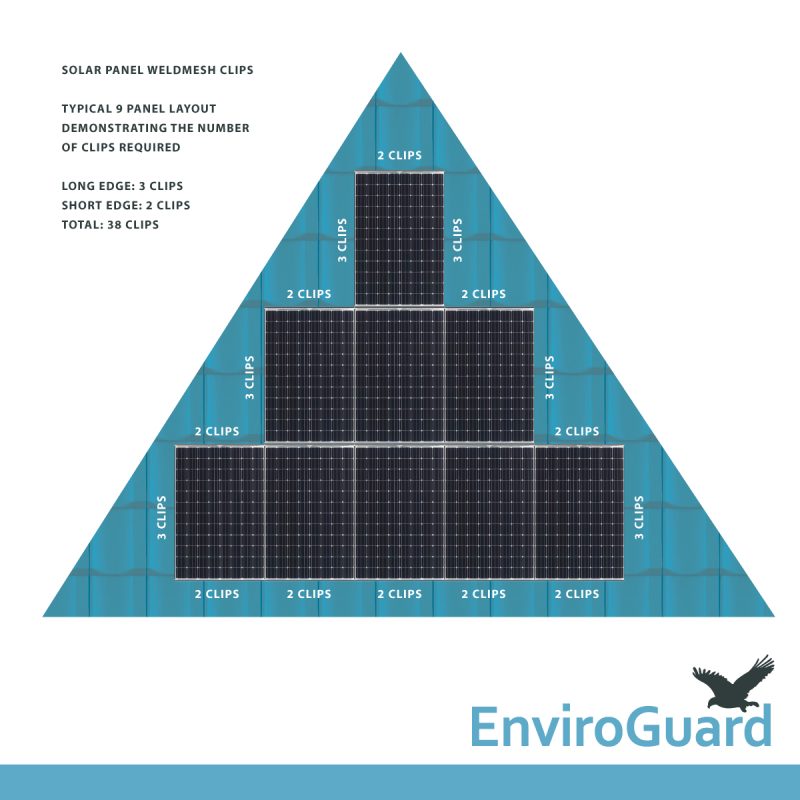
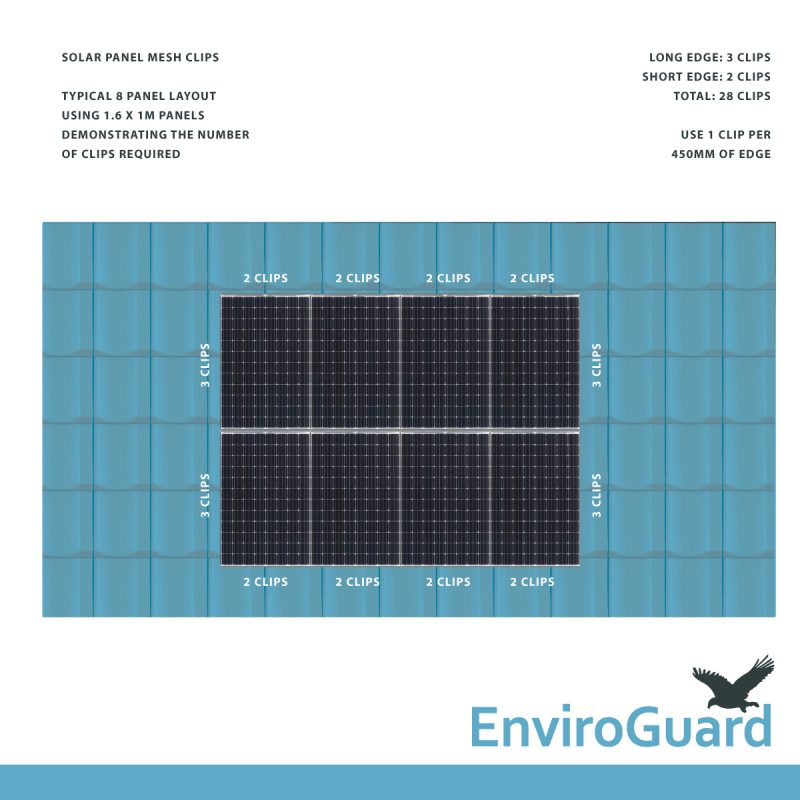
A typical solar panel is approximately 1.6m tall and 1m wide, on a typical panel one should use 3 clips on each long edge and 2 clips on each short edge. See the diagram attached to this product listing for more details and an example of a typical installation.
This non-penetrating system is fast and easy to install, does not void warranties and can be removed for servicing.
Installation Instructions
- The galvanized mesh is in 200 mm wide rolls and comes in 30 M lengths.
- Cut the roll into 1.6 M sections (or length of the longest side of a panel), it is much easier to work with shorter lengths.
- Bend up two to three squares of the mesh to about a 45 degree angle (see illustrations below). This helps to lock the mesh snugly to the roof, this can easily be done over flat edge by hand.
STEP 1: Place clips every 18 inches. Slide the clip onto the edge of the panel support bracket. Slide as far outward as possible so the clip is all the way on the lip of the panel.
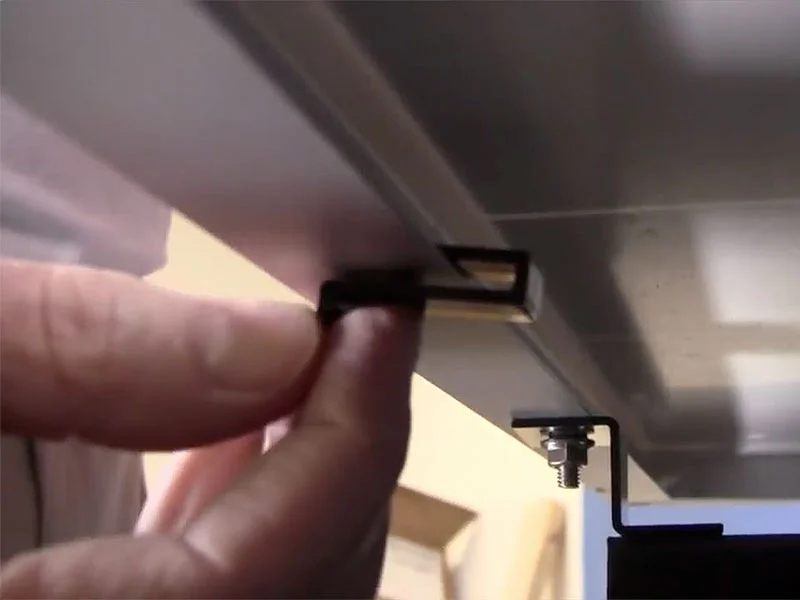
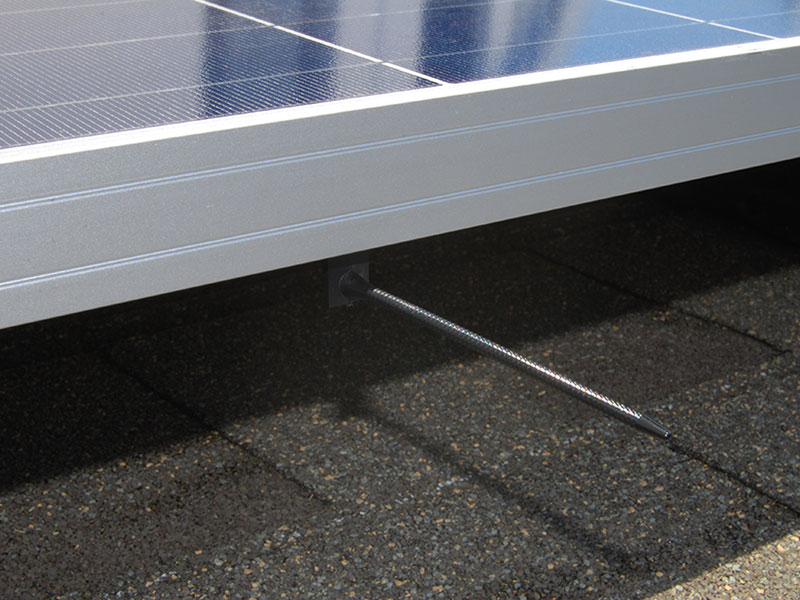
STEP 2: Set the wire mesh screen in place. Make sure the fastener rod comes through the screen at an upward angle as to keep downward pressure on the screen.
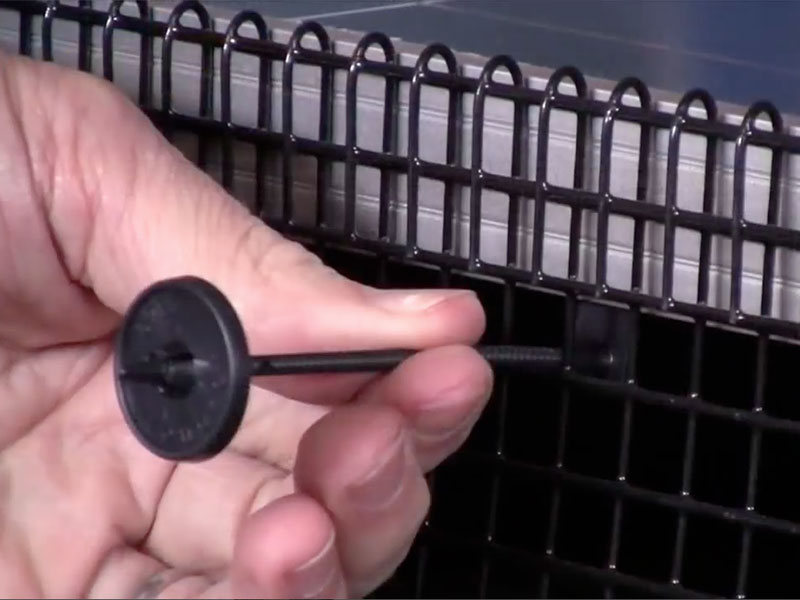
STEP 3: Slide the speed washer onto the shaft of the clip assembly until snug. Make adjustments to the screen as necessary. Tighten speed washer to panel edge and add the lock nut.
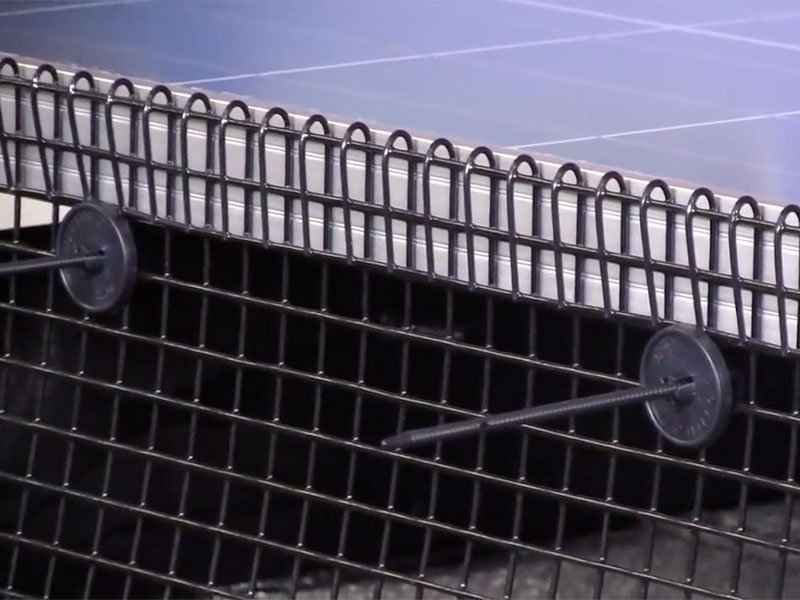
STEP 4: Cut off any excess mesh screen sticking over the top edge of the solar panel array. Cut of the clip assembly rod flush with the exterior of the speed washer. Use metal shears
If you require any further advice before ordering, please do not hesitate in contacting us and we will be happy to help….. Tel Freephone 0800 0687279
Installation Video
Working out your budget? See what it costs to pigeon proof solar panels, with every kit compared and a worked example.
Still deciding between mesh and spikes? Our guide to solar panel mesh vs spikes explains which suits your panels.
Is the Galvanized Solar Mesh Kit with Premium Adjustable Clips the right kit for you?
Each 30m kit has everything needed to treat 30m of solar panels, which the kit listing describes as a typical household 4kW, 16 panel array. The kits differ in two ways: the mesh finish, and the clip. Speed clip kits are for panels with no lip on the underside of the frame. Premium adjustable and push fit kits need a return lip on the underside for the clip to fix to.
What is in this kit
| Mesh | 30m roll of 19 gauge hot dipped galvanised weld mesh |
|---|---|
| Aperture and roll size | 25mm x 12.5mm aperture; 200mm wide x 30m long |
| Clips | 60 premium adjustable solar panel mesh clips, UV stabilised polycarbonate with self-locking nuts adjusted by hand |
| Tools | 1 pair of sheet metal snips |
| Corner ties | 1 pack of stainless steel corner ties |
| Coverage | 30m of solar panels (a typical 4kW, 16 panel array) |
| Clip spacing | On a typical 1.6m x 1m panel, 3 clips on each long edge and 2 on each short edge |
Which 30m kit?
| Kit | Mesh | Clips in the kit | Panel frame |
|---|---|---|---|
| Galvanized kit with speed clips | Galvanised, 19 gauge | 150 speed clips (30mm or 35mm) | No lip needed |
| PVC coated kit with speed clips | Galvanised then black PVC coated, 19 gauge | 150 speed clips (30mm, 35mm or 40mm) | No lip needed |
| Galvanized kit with premium adjustable clips | Galvanised, 19 gauge | 60 premium adjustable clips | Needs a lip on the underside |
| PVC coated kit with premium adjustable clips | Galvanised then black PVC coated | 60 premium adjustable clips | Needs a lip on the underside |
| Stainless steel kit with premium adjustable clips | Stainless steel, 18 gauge / 1.05mm | 60 premium adjustable clips | Needs a lip on the underside |
| Galvanized kit with push fit clips | Galvanised, 19 gauge | 60 push fit clips | Needs a lip on the underside |
| PVC coated kit with push fit clips | Galvanised then black PVC coated | 60 push fit clips | Needs a lip on the underside |
Do I need speed clips or the premium or push fit clips?
Look at the underside edge of a panel. If there is no return lip, choose a speed clip kit. If there is a lip, the premium adjustable or push fit kits fix to it. Our installation guide shows both.
Is one kit enough for my array?
One kit covers 30m. Add up the lengths of all the sides of your array to get the perimeter and allow an extra 1 to 2m for joints and corners. A perimeter over about 28m will need more mesh: add a 30m roll of matching mesh and the clips to go with it.
Will it affect my panel warranty?
No. This is a non-penetrating system: it does not pierce the roof or the panels, so there is no drilling and the kit does not void warranties.
Can I take the mesh off to clean or service the panels?
Yes. The premium adjustable clips have a locking nut on a threaded shaft, and the listing confirms the system can be removed for servicing.
For the step by step method, see our solar mesh installation guide.
All wild birds, including feral pigeons and gulls, are protected by law, so check for active nests before you fit anything and never disturb one. Our page on bird control and the law explains what you can and cannot do.
Need it installed? Request an installation quote and we will arrange it through our recommended installer, JG Pest Control.